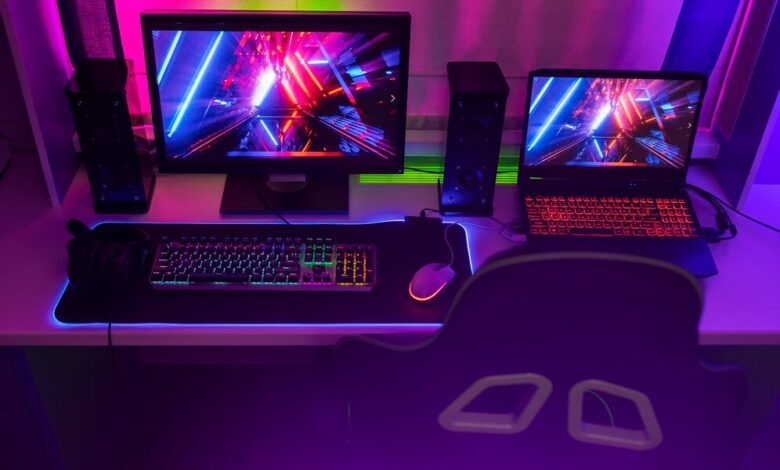
The Ultimate Beginner’s Guide to Building a Gaming PC

Building a gaming PC from scratch is an exciting venture that offers unparalleled customization and performance tailored to your needs. While it might seem daunting for beginners, this guide will break down the entire process step by step, helping you create a powerful system to enjoy your favorite games.
Why Build Your Own Gaming PC?
Building a gaming PC allows you to:
- Tailor your system to your budget and gaming preferences.
- Upgrade components easily in the future.
- Gain a sense of accomplishment and technical knowledge.
Unlike pre-built PCs, custom builds offer better value and performance, ensuring a satisfying gaming experience.
Step 1: Determine Your Budget
Your budget dictates what components you can afford. Entry-level builds can start at $500–$700 for 1080p gaming, while high-end systems for 4K gaming or VR may require $1,500 or more.
Step 2: Choose Your Components
Here’s a breakdown of essential PC components and what to look for:
- Processor (CPU): The brain of your PC.
- Popular options: Intel Core i5/i7 or AMD Ryzen 5/7.
- Prioritize CPUs with good multi-core performance for gaming.
- Graphics Card (GPU): Crucial for gaming performance.
- Recommended: NVIDIA GeForce RTX series or AMD Radeon RX series.
- Match your GPU to the games you play and your desired resolution.
- Memory (RAM): Enables smooth multitasking.
- 16GB DDR4 is the sweet spot for gaming in 2025.
- Storage: Speed and capacity matter.
- Use an SSD (Solid State Drive) for faster boot times.
- Add an HDD for bulk storage if needed.
- Motherboard: The foundation of your build.
- Ensure compatibility with your CPU and RAM.
- Look for features like Wi-Fi, Bluetooth, and multiple USB ports.
- Power Supply Unit (PSU): Powers all components.
- Choose a reliable PSU with adequate wattage (e.g., 650W–750W for most builds).
- Case: Houses all components.
- Consider airflow, size, and aesthetic.
- Cooling System: Prevent overheating.
- Budget builds can rely on stock coolers; high-end builds may need liquid cooling.
Step 3: Tools You’ll Need
Before assembling your PC, gather the following:
- Screwdriver set.
- Anti-static wristband (to prevent static damage).
- Workspace with good lighting.
Step 4: Assemble Your PC
- Install the CPU and RAM onto the motherboard.
- Attach the motherboard to the case.
- Install the GPU, storage drives, and PSU.
- Connect all necessary cables, ensuring a clean cable layout for proper airflow.
- Double-check all connections.
Step 5: Install an Operating System
Once assembled, install an operating system like Windows 11 or a Linux distribution. Don’t forget to download and update drivers for your components to ensure optimal performance.
Step 6: Test Your System
Run benchmark tests to ensure your PC is functioning correctly. Tools like Cinebench and 3DMark can measure your build’s performance and stability.
Tips for Beginners
- Watch tutorial videos for visual guidance.
- Consult forums like Reddit’s r/buildapc for advice.
- Be patient—learning the process is half the fun!
Conclusion
Building a gaming PC is a rewarding journey that allows you to customize your setup for optimal gaming performance. By following this guide, even beginners can create a reliable and powerful PC. Start your journey today and enjoy the world of gaming on your terms!


